Sitecore Rocks integrates directly with Microsoft Visual Studio 2010, 2012, 2013 and 2015 and gives developers a fast, streamlined development experience by letting them use the tools that they are familiar with. This will increase productivity and lower the incidence of bugs.
This blog describes how to install Sitecore rocks for visual studio 2015 version. The installation procedure is same with the other version of visual studio edition like 2010, 2012 and 2013.
Install Sitecore Rocks for Visual Studio
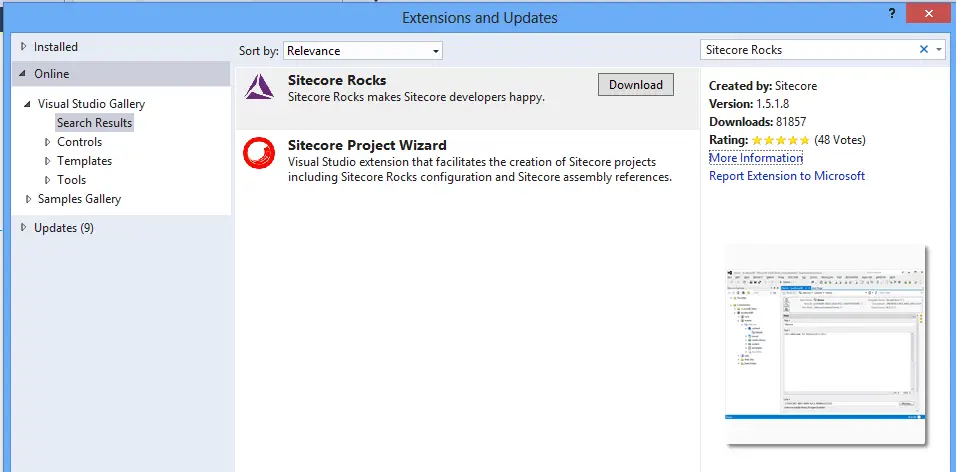
- Open Visual Studio Software and Click on Tools in the menu bar and in the following drop down list select Extensions and Updates Option
- In the Extension and Updates window Select Online link from the Left-hand side tree and Search for Sitecore Rocks Extension. The results will be displayed as shown below.
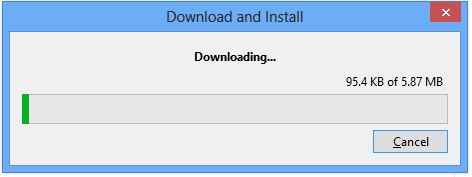
- Select Sitecore Rocks and on download button to start downloading the rocks extension.

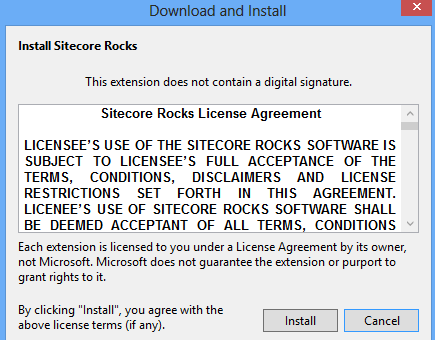
- Once the download is completed it will prompt to install. Click on install to install Sitecore rocks for visual studio and complete the installation process.

- Once the installation is done. Visual Studio Extension and Updates displays a green tick which indicates installation is successful

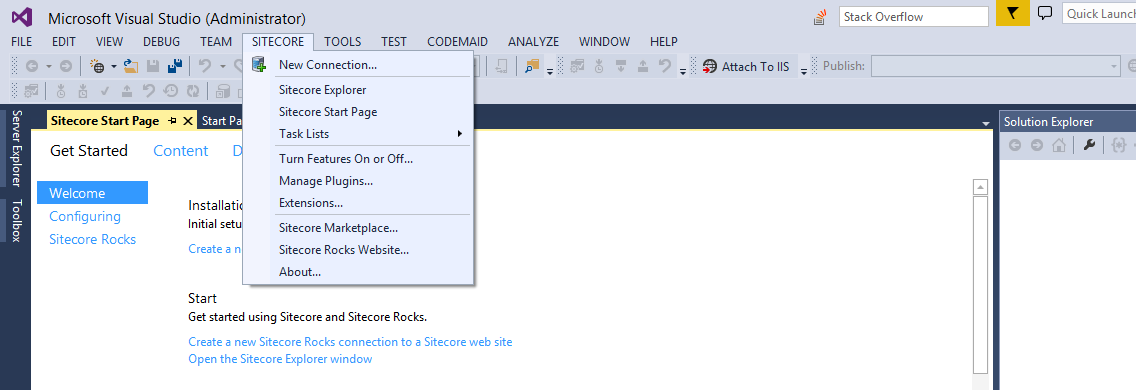
- Restart the visual studio and you should be able to see the Sitecore menu in the Visual studio menu bar.

The Sitecore rocks can also be installed manually by visiting the Visual Studio Gallery Extension and Tools and Download the VSIX package file. Double click to and follow the above steps to install the extension.

